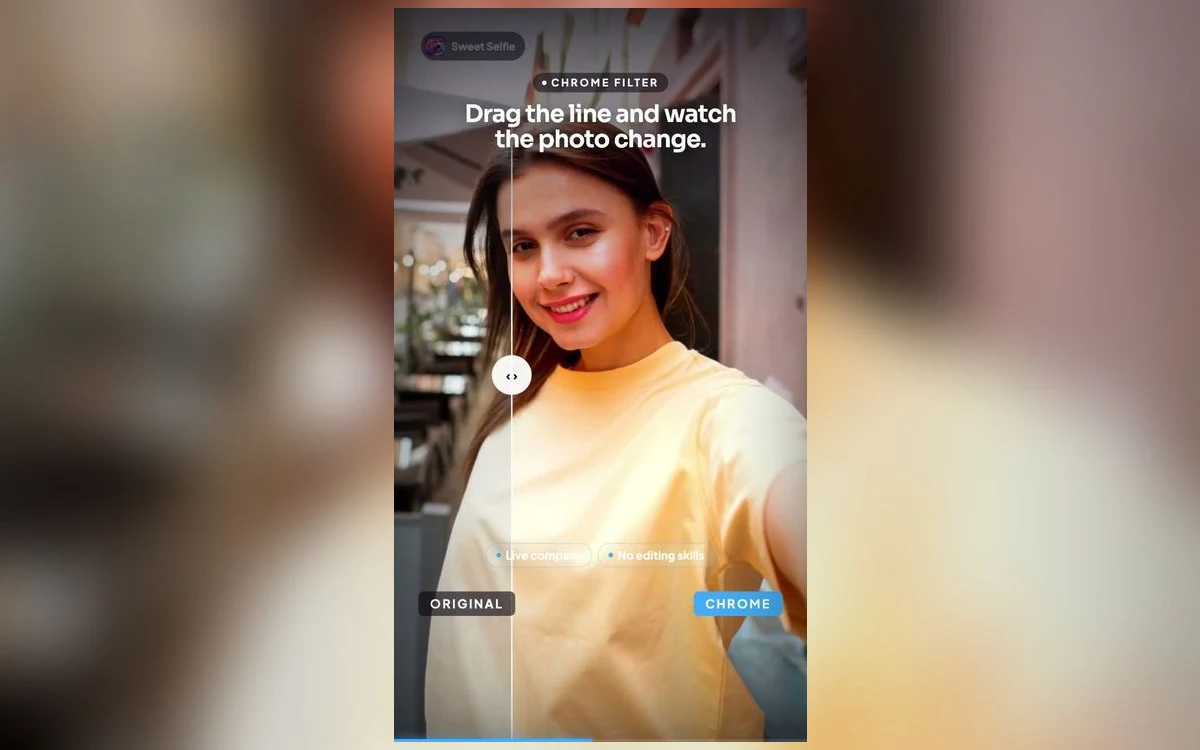
You open the filter row, swipe through, and one looks right. Sometimes it does. More often you end up back at the original, unsure why Chrome and Fade looked worse than the plain photo.
Filters are not moods. Each is a fixed set of adjustments to brightness, contrast and colour, applied the same way every time. Once you know what each one does, choosing stops being guesswork.
Here is what the main families change, and which photos suit which.
What a filter is actually doing
Underneath the name, most filters are three or four adjustments stacked together.
The first is a tone curve, which decides how bright each part of the picture ends up. Lift the middle and the photo goes lighter and softer. Lift the dark end off the floor and the blacks turn grey, which is the whole basis of the faded look.
The second is saturation, and the third is a colour shift, usually towards orange or towards blue, and often different in the shadows than in the highlights. The fourth, when a filter has one, is texture: grain, a vignette, or a border.
None of it adds information. A filter rearranges what the sensor already recorded, which is why none of them rescues a badly lit photo.
Chrome: contrast and colour turned up
Chrome-style filters raise contrast and saturation together. Dark areas go darker, bright areas go brighter, every colour becomes more insistent.
That suits photos that were dull to begin with: an overcast afternoon, a flat indoor scene. It punishes photos that already had strong light. On a face in direct sun, more contrast deepens the shadow under the nose and chin while the lit side of the forehead loses its last detail, and that detail does not come back.
Skin is what to watch. More saturation makes redness in cheeks and eyelids obvious. If someone looks sunburnt after Chrome, the filter stopped hiding it rather than caused it.
Fade and Instant film: the lifted-black look
Fade raises the darkest tones so nothing is truly black, and drops saturation slightly. Instant film does the same and adds a warm cast, imitating instant prints, where the chemistry never produced a deep black.
Both read as soft and slightly nostalgic, and both work on photos that started out contrasty: backlit shots, hard window light, a face against a bright sky. Lifting the shadows there hides detail that was already lost.
They work badly in dim rooms. Weak indoor light is low in contrast already, and lifting the blacks further leaves grey mush with nothing to anchor the eye. Fade what is contrasty, not what is flat.
Mono and Sepia: what happens when colour leaves
Taking colour away removes one of the two ways a photo tells things apart. Brightness is all that is left, so a red jumper and a green wall that were obviously different can land on nearly the same grey and merge.
That makes Mono good at one problem in particular: a cluttered or badly coloured background. Strip the colour and the clutter loses most of its pull, provided your face is brighter than what is behind it. Hard midday sun suits Mono too, because heavy shadows read as deliberate in black and white and as a mistake in colour.
Sepia is Mono with a warm tint put back, which softens the severity: useful for portraits, wrong for anything meant to look current.
Polaroid, film strip and neon: texture rather than tone
Some filters change the surface as well as the brightness. Polaroid-style looks combine low contrast, a warm and cool split between highlights and shadows, and darkening at the corners. Film strip adds sprocketed edges. Neon pushes particular colours in the bright or dark areas, so a night photo picks up magenta and cyan.
These are louder choices and they need the photo to meet them halfway. Neon over a night shot that already has coloured signs amplifies something real; on a flatly lit daytime portrait it looks like a fault.
Matching the filter to the light you had
Filters are easier to pick from the light in the photo than from the mood you are chasing.
Soft window light needs almost nothing, so Fade or Instant film adds warmth without disturbing what works. Overcast light is genuinely flat, so Chrome gives back the contrast the sky took away. Midday sun with hard shadows suits Mono, and coloured light at night suits Neon.
Sweet Selfie keeps all eight filters in one row under the shot, so you can work down that list against the light you had. Tap each one off and on rather than swiping past, and judge at full brightness: a filter that lifts shadows looks rich on a dim screen and washed out on a bright one.
Judge the filter on skin, not the background
Look only at the face for a few seconds before you decide: skin tone, the whites of the eyes, the shadow under the chin. Filters sell themselves on skies and walls, where extra contrast and colour cost nothing. Skin is where they do the damage, and it is what anyone reads first. If the skin has gone orange, grey or blotchy, the improvement everywhere else is not worth keeping.
Quick answers
Which filter is best for indoor selfies?
Indoor light is soft and low in contrast already, so filters that lift shadows leave the photo grey. A warm filter such as Instant film suits window light, and Chrome helps when room lighting is flat and colourless. More light on your face does more than any filter afterwards.
Do filters reduce photo quality?
The adjustment does not throw away detail, but every save writes a new compressed file, so passing a photo through several apps softens it. Edit once from the original and export once, and keep the untouched file.
Can I remove a filter later?
Only if the app saved a copy rather than overwriting the original. Once it is the only file you have, the change is baked into the pixels and no undo brings the original tones back.
What is the difference between a filter and beauty mode?
A filter treats the whole frame the same regardless of what is in it. Beauty mode finds the face and works there, softening texture and adjusting tone locally. The two stack, which is how a photo ends up overdone, so lean on one and keep the other light.
Where to get it
Sweet Selfie: Camera & Editor puts the eight filters, one-tap studio lighting and the export sizes on a single screen, and it does not stamp a watermark on anything you save. You can find it on the App Store here: on the App Store
Choose the filter that fits the light you had, and the photo will carry the rest.