Scroll back through your camera roll and the selfies have a family resemblance. Same distance, same tilt, same crop from the eyes down to the collarbone, and often an arm disappearing off the corner.
That is not a style choice. It is the length of your arm making every decision for you. The moment the phone sits on something, those decisions open back up.
Two features handle most of it, and both are already on your phone: the self timer and the grid.
What the outstretched arm costs
An arm's length is roughly eighteen inches, and a lens that close renders whatever is nearest to it larger, mostly your nose and forehead. Backing off to three or four feet fixes the proportions, and you cannot do that while holding the phone.
The arm limits the frame too. Holding a phone out gives you one angle, one height, one distance and a body position built around gripping something. You also get an unsteady camera, which in dim light means a longer exposure that blurs or a higher sensitivity that adds grain.
Where to prop a phone when you have no tripod
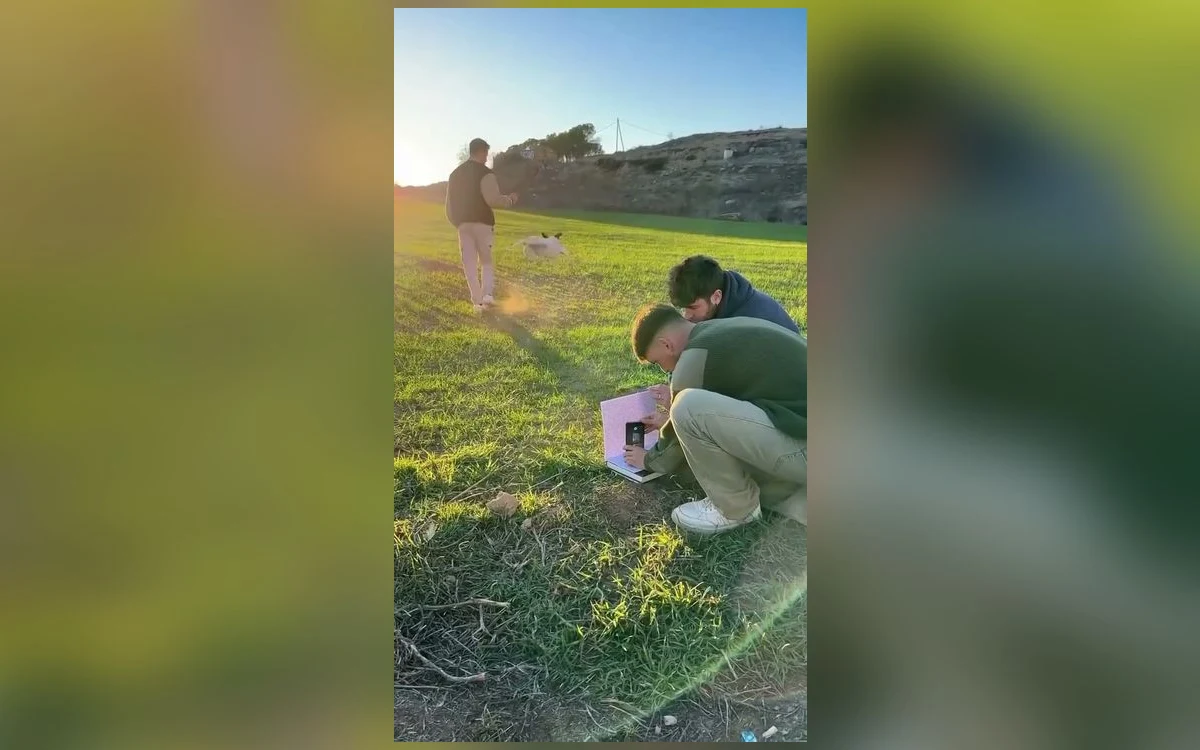
Almost anything with a flat top and something solid behind it will do: books, a windowsill, a shelf, a car dashboard. Lean the phone back against a wall or a mug so it rests at an angle rather than balancing upright, and keep that support behind it, so a slip drops the phone backwards rather than face down.
Remember the lens sits at the top of the phone, so one leaning back aims slightly upwards; nudge the bottom edge forward to bring the framing down. Height matters most: a surface at chest level with the phone tilted up flatters nobody. Aim for something that puts the lens at or just above your eye line.
Turning the grid on and what the lines are for
On an iPhone the grid lives in Settings, then Camera, then Grid. It overlays two vertical and two horizontal lines dividing the frame into nine equal parts, and recent iOS versions add a separate Level option in the same place. It is a viewfinder aid, so it never appears in the saved image. Sweet Selfie has its own framing grid on the camera screen next to the timer.
The lines do two jobs. The first is keeping things straight: a door frame tilted by a couple of degrees reads as careless, and that is easier to spot against a printed line than against nothing. The second is placement.
Eyes on the upper third line
The rule of thirds says put what matters on the lines, or where they cross, rather than dead centre. For a portrait the useful version is simpler: eyes on the upper horizontal line.
The reason is headroom. Centre your whole head and you get a large empty gap above it while your chin is cramped near the bottom. Put your eyes on the upper third and that gap shrinks while your shoulders get room below. If your body is turned to one side, leave more space on the side you are facing, because someone looking into the edge of the frame looks trapped.
Dead centre still works when the frame is symmetrical: a doorway, a mirror, a straight-on portrait against a plain wall. It only fails by accident.
Lock focus on the spot before you walk into it
Prop the phone, hold your hand where your face is going to be, then press and hold on that point on screen until AE/AF Lock appears. The camera stops hunting, so it will not refocus on the wall behind you or rebalance the exposure when you step in. Then start the timer. This habit is what turns a soft, oddly bright timer shot into a usable one.
Setting the timer and using the seconds
In the iPhone Camera app the timer offers three, five and ten seconds. Where the button lives depends on your iOS version: on recent releases you reveal the row of extra controls by opening the controls row above the shutter or swiping up on the viewfinder, then pick the stopwatch. Some versions fire a short burst when the countdown ends rather than a single shot, so check the camera roll afterwards.
Use ten seconds even when three would do. Three is enough to press the button and freeze. Ten is enough to walk in, settle, breathe out and be somewhere between poses when the shutter fires, which is where the good frames live. If you can see the screen, watch the countdown, then look at the lens for the last second.
Sweet Selfie keeps its timer and grid together on one screen, which matters because most of the value here comes from setting framing and timing in one pass.
Frame for the crop you will actually post
Decide the shape before you shoot. A square crop needs your head lower in the frame than a 9:16 story does, and a 16:9 frame slices the top off a portrait framed tall. Shooting slightly wider leaves room to move the crop later.
If you are unsure, frame for the tallest shape you might use and crop down afterwards. Cropping in is easy; inventing the top of somebody's head is not.
Quick answers
Where is the self timer in the iPhone Camera app?
It sits in the row of camera controls, revealed by opening the controls row above the shutter or swiping up on the viewfinder. The placement has moved between iOS releases, so look for the stopwatch shape rather than a fixed spot.
Does the grid show up in the photo?
No. The grid, and the level line if you have it enabled, exist only in the viewfinder as guides. Nothing is drawn into the saved file.
How do I stop the camera focusing on the wall behind me?
Press and hold on the point where your face will be until the AE/AF Lock badge appears. Focus and exposure are then fixed until you tap again, which is what you want when the subject arrives after the framing is set.
Can I trigger the shutter from where I am standing?
If you have an Apple Watch, its Camera Remote app shows a live preview and fires the shutter. The volume buttons also work as a shutter, including on wired headsets.
Where to get it
Sweet Selfie: Camera & Editor puts the framing grid, the self timer and a 1x to 3x zoom on one screen, along with one-tap studio lighting, a beauty mode that keeps skin looking real, eight colour filters, nine frames, and export at square, 4:5, 9:16 and 16:9 with no watermark. It is free on the App Store.
Put the phone on a shelf, set ten seconds, and take three frames instead of one.